


- Quick Search:
- A search bar that allows users to quickly search for locations.
- A search bar that allows users to quickly search for locations.
- Appointments List
- Displays all the appointments in a tabular format.
- Columns:
- ID: A unique identifier for each location.
- Name: The name of the location.
- Phone: The phone number of the location.
- Address: The address of the location.
- Export to CSV
- A button that allows users to export the list of appointments into a CSV file for external analysis or record-keeping.
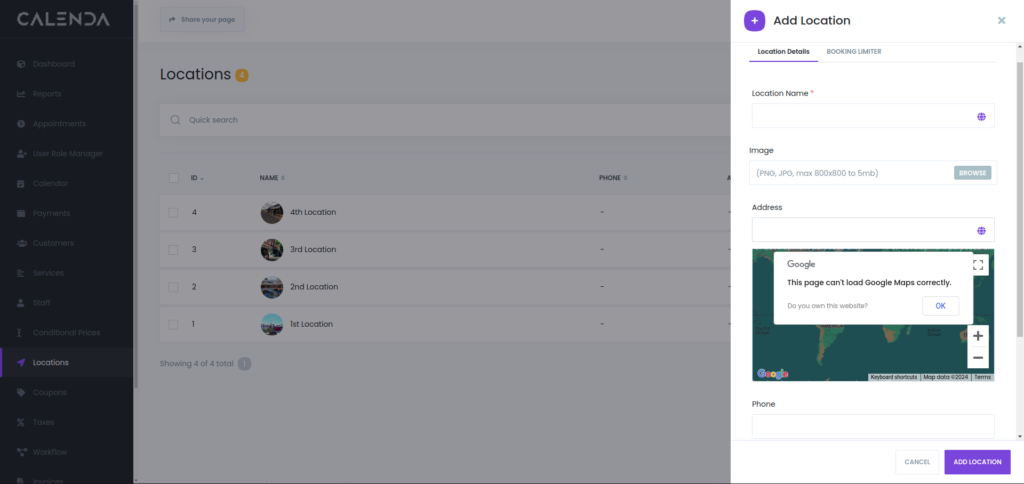
4. Add Location:
- Location Details Tab
- This tab is currently active and includes fields for specifying the details of the new location.
- Location Name
- A required text field where the user enters the name of the new location. There is a globe icon next to the field, which likely represents options for localization or geolocation features.
- Image
- This section allows the user to upload an image for the location. Supported formats are PNG and JPG, with a maximum resolution of 800×800 and a file size limit of 5 MB. There is a Browse button to upload an image from the user’s device.
- Address
- This text field is used to input the location’s address.
The address field will appear in the booking panel for customers.
- This text field is used to input the location’s address.
- Phone
- Further down there is a field for entering the phone number associated with the new location. This allows staff to contact the location directly.
- Description
- You can add a description for this location.
It will not appear for the customers.
- You can add a description for this location.
If you headed to Booking Limiter tab, you find a toggle button for Location booking limit per time period. It simply limits the number of bookings at a particular location for a given time frame.
Set daily, weekly, or monthly caps to control traffic and resource use:

- Allowed capacity: Specify the maximum number of appointments allowed. This limit applies to the location and helps in maintaining an organized schedule.
- Interval: Choose the time frame for the appointment limits: daily, weekly, or monthly. This setting determines how often the booking limit resets.